Capture & Hold Setup – Arma Reforger
No edit summary |
(Reduced some unnecessary text.) |
||
| Line 25: | Line 25: | ||
Start by opening the mod in Workbench and launch the World Editor from either the Quick Launch screen or Editors context menu. | Start by opening the mod in Workbench and launch the World Editor from either the Quick Launch screen or Editors context menu. | ||
<gallery | <gallery widths="600" heights="400" perrow="1"> | ||
File:armareforger- | File:armareforger-cah 01 baseworld.jpg|'''1.''' Open the '''CAH_BaseWorld.ent''' world file by double clicking the file in {{hl|CaptureAndHold/Worlds/CaptureAndHold}} directory. | ||
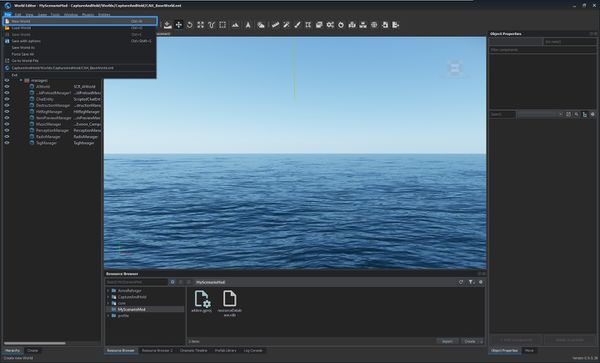
File:armareforger- | File:armareforger-cah 02 newworld.jpg|'''2.''' In the '''File''' context menu, select the '''New World''' option. | ||
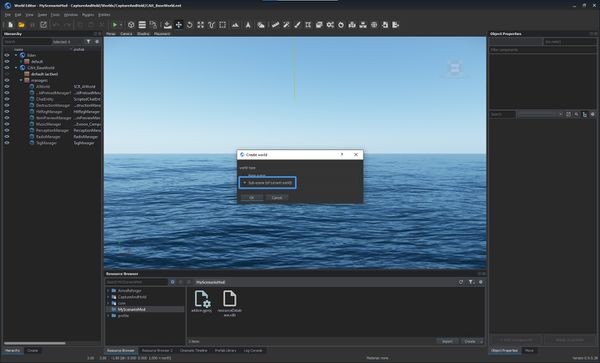
File:armareforger- | File:armareforger-cah 03 subscene.jpg|'''3.''' Make sure that the '''Sub-scene (of current world)''' option is selected in the dialog. | ||
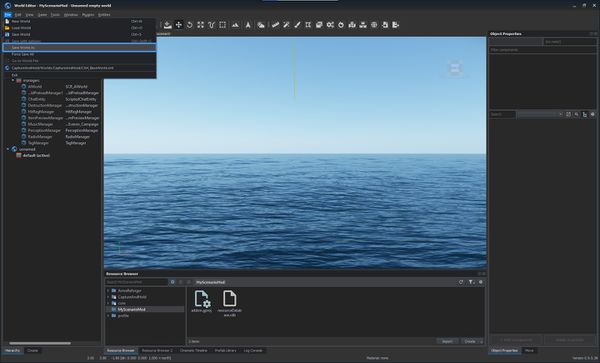
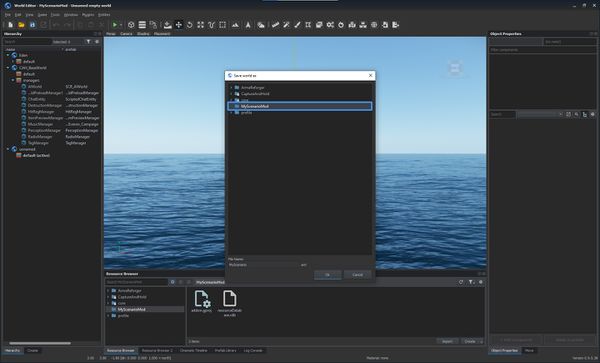
File:armareforger- | File:armareforger-cah 04 saveas.jpg|'''4.''' In the '''File''' context menu select the '''Save World As''' option and pick the scenario's save destination. | ||
File:armareforger- | File:armareforger-cah 05 save dir.jpg|'''4bis.''' In our case, we select the root directory. | ||
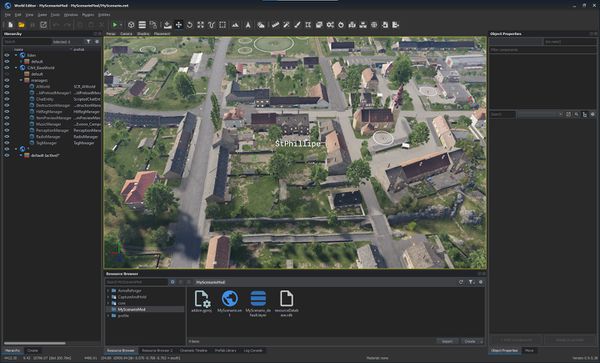
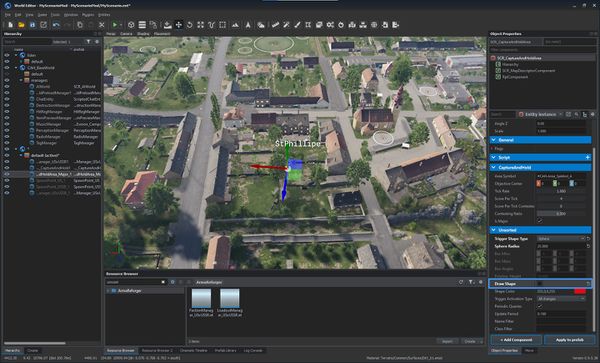
File:armareforger- | File:armareforger-cah 06 location.jpg|'''5.''' Find a suitable scenario location. In our example, we chose St Philippe. | ||
</gallery> | </gallery> | ||
=== Scenario Setup === | === Scenario Setup === | ||
Drag and drop the following elements from the Resource Browser into the world:<gallery widths="600" heights="400" perrow="1"> | |||
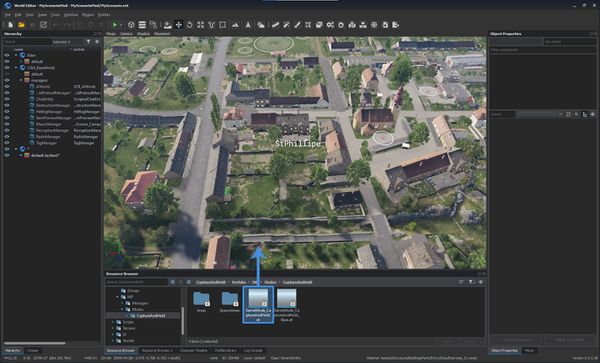
<gallery | File:armareforger-cah 07 gamemode.jpg|'''1.''' From {{hl|CaptureAndHold/Prefabs/MP/Modes/CaptureAndHold}} drag {{hl|GameMode_CaptureAndHold.et}} | ||
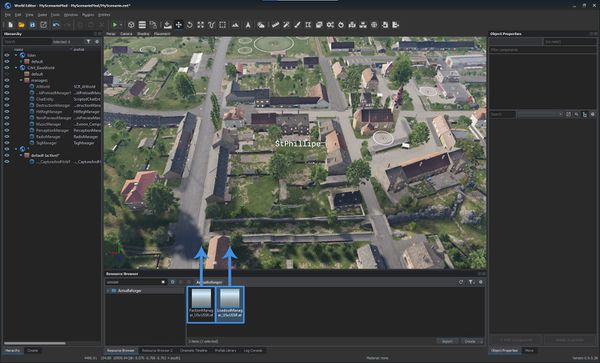
File:armareforger- | File:armareforger-cah 08 managers.jpg|'''2.''' From {{hl|Prefabs/MP/Managers/Factions}} drag the {{hl|FactionManager_USxUSSR.et}} and from {{hl|Prefabs/MP/Managers/Loadouts}} drag the {{hl|LoadoutManager_USxUSSR.et}} | ||
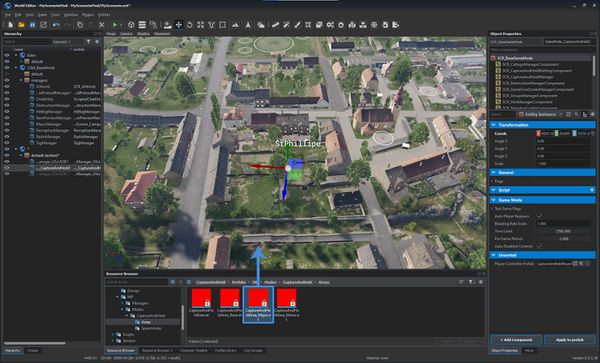
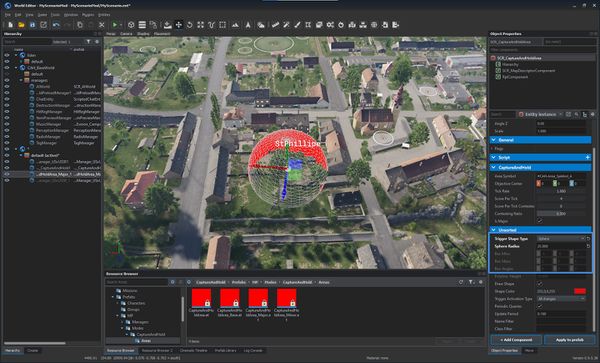
File:armareforger- | File:armareforger-cah 09 area.jpg|'''3.''' From {{hl|CaptureAndHoldPrefabs/MP/Modes/CaptureAndHold/Areas}} drag {{hl|CaptureAndHoldArea_Major.et}} | ||
File:armareforger- | File:armareforger-cah 10 area setup.jpg|'''4.''' While the '''SCR_CaptureAndHoldArea''' entity is still selected, adjust the shape as desired. | ||
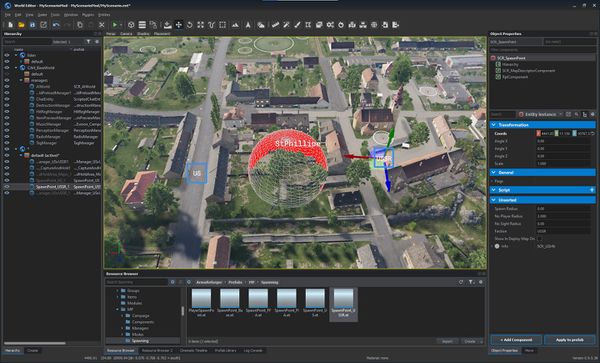
File:armareforger- | File:armareforger-cah 11 spawns.jpg|'''5.''' From {{hl|Core*/Prefabs/MP/Spawning}} drag {{hl|SpawnPoint_US.et}} and from {{hl|Core*/Prefabs/MP/Spawning}} drag {{hl|SpawnPoint_USSR.et}} <br>''*Core is the {{armaR}} core data folder'' | ||
File:armareforger- | |||
</gallery> | </gallery> | ||
Revision as of 22:13, 17 July 2023
Setting up a new Capture & Hold scenario based is easy, thanks to the Prefab system and already existing base world available as part of the Capture & Hold mod.
Prerequisites that you only need to do once
Before you start "Arma Reforger Tools", you need to get the "Capture & Hold" Mod subscription:
- Start "Arma Reforger".
- Enter the workshop.
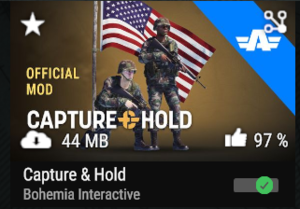
- Subscribe to the official mod "Capture & Hold" by Bohemia Interactive:
- When the download is finished: End "Arma Reforger".
- Open "Arma Reforger Tools".
- Click on "Add Existing" to add the mod that you just downloaded.
- Add the file from this directory: C:\Users\[YOUR USER]\Documents\My Games\ArmaReforger\addons\CaptureAMPHold_591AF5BDA9F7CE8B\
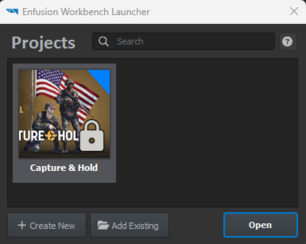
- If everything was done correctly your Enfusion Workbench Launcher should now contain the mod and look like this:
Creation Steps
- Open "Arma Reforger Tools".
- Click on "Create New"
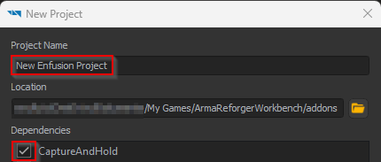
- Give a good Project Name like "CAH The Cowshed by xyz" so that people can search, understand what this is about.
- Important: Don't forget to activate the "CaptureAndHold" in Dependencies.
Initial Setup
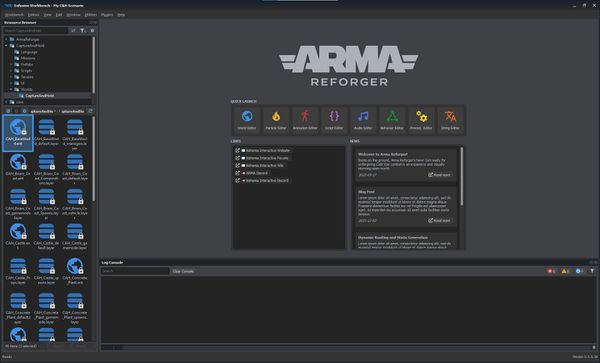
Start by opening the mod in Workbench and launch the World Editor from either the Quick Launch screen or Editors context menu.
Scenario Setup
Drag and drop the following elements from the Resource Browser into the world:
For automatic deletion of dead bodies and destroyed vehicles, the CaptureAndHold
Now save the scenario and proceed.
System Test
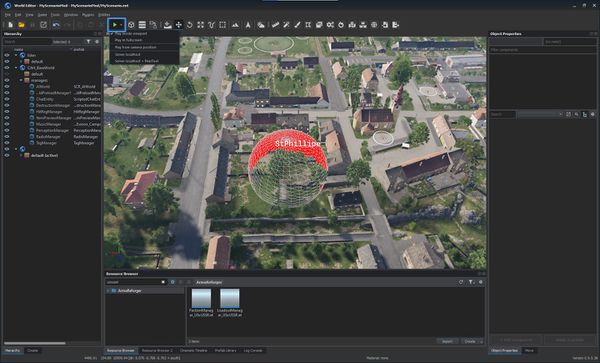
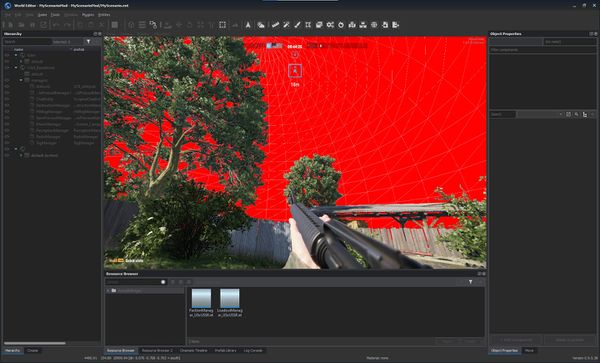
Once done, save your changes once more and close the World Editor.
Scenario Header
To launch the scenario in-game a Scenario header (named MissionHeader) config must be created.
Exit the World Editor and return to the Resource Browser.
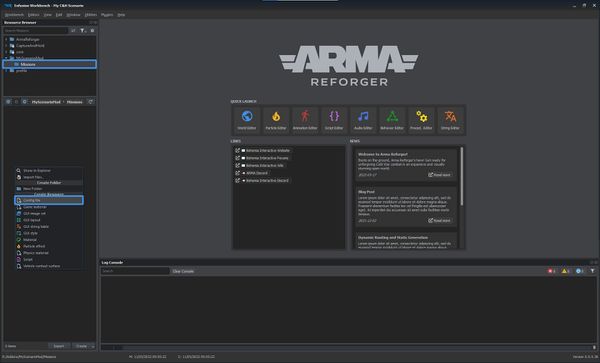
In the Resource Browser find your mod root directory and create a "Missions" directory inside.
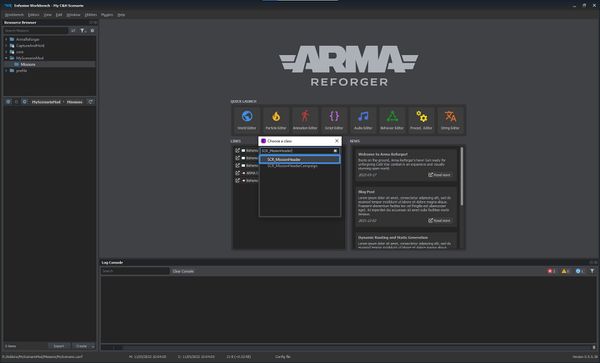
Open the newly created Mission Header config.
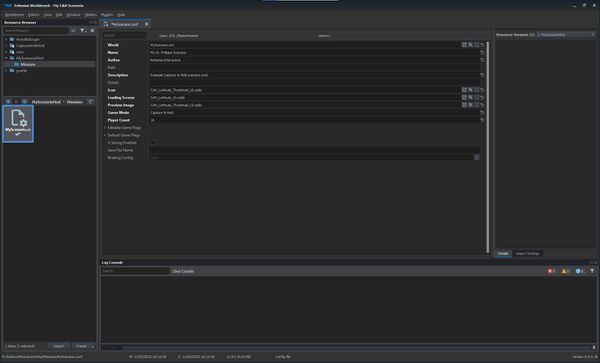
In the World field, navigate to and select the world file. In our example it is the MyScenario.ent in the mod's root directory.
In-Game Test
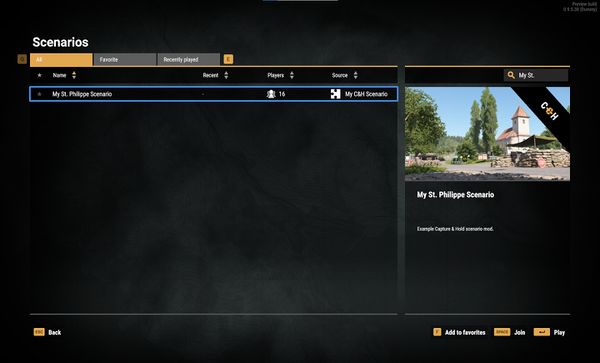
Launching Arma Reforger with this newly created mod enabled should allow you to see the and launch the scenario directly:
Ship It
Now that the scenario can be launched from the game, only a few things remain. Testing the scenario in multiplayer is important, making sure that there are enough spawn points and other gameplay details.
Last, but not least is to publish the mod in the Bohemia Interactive Workshop for other people to see and play!

