Character Gear Creation/Vest/Asset Preparation – Arma Reforger
Creating colliders
First step towards creating proper collider will be making of a new object, which should receive one of the colliders prefixes (in this case UTM_ prefix was used). In case of vests, in most cases it will be better to use:
- Simple single sided faces
- Game Material with predefined thickness
While in theory it would be possible to create realistic plates with thickness and shape of real life objects, end result would probably clip through character and hit detection could also not work correctly if those colliders would be too close to character body.
Plates setup
Depending on what kind of vests are you doing, it is possible to do some experimentation about setup of colliders although it is worth to keep in mind limitation of collider animation - every collider object can be only attached to single bone.
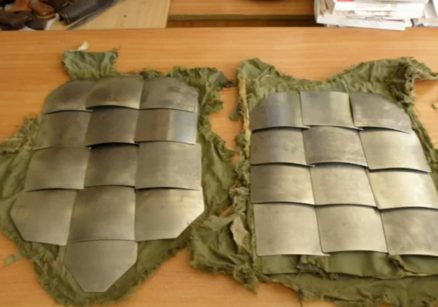
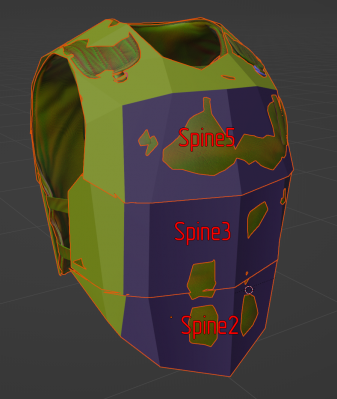
In case of 6B2, each row of plates is attached to different Spine bone. Such solution has its pros & cons:
- ❌ Requires multiple colliders
- ✅ Follows character more closely which somewhat simulate multiple tiny plate setup of 6B2
- ❌ There are gaps or overlaps in fire geometry in some character poses
Other option for colliders setup might be using single bone (& object) for plates located on the chest. Such setup is somehow more realistic for single rigid armored plates which can be placed in modern plate carriers.
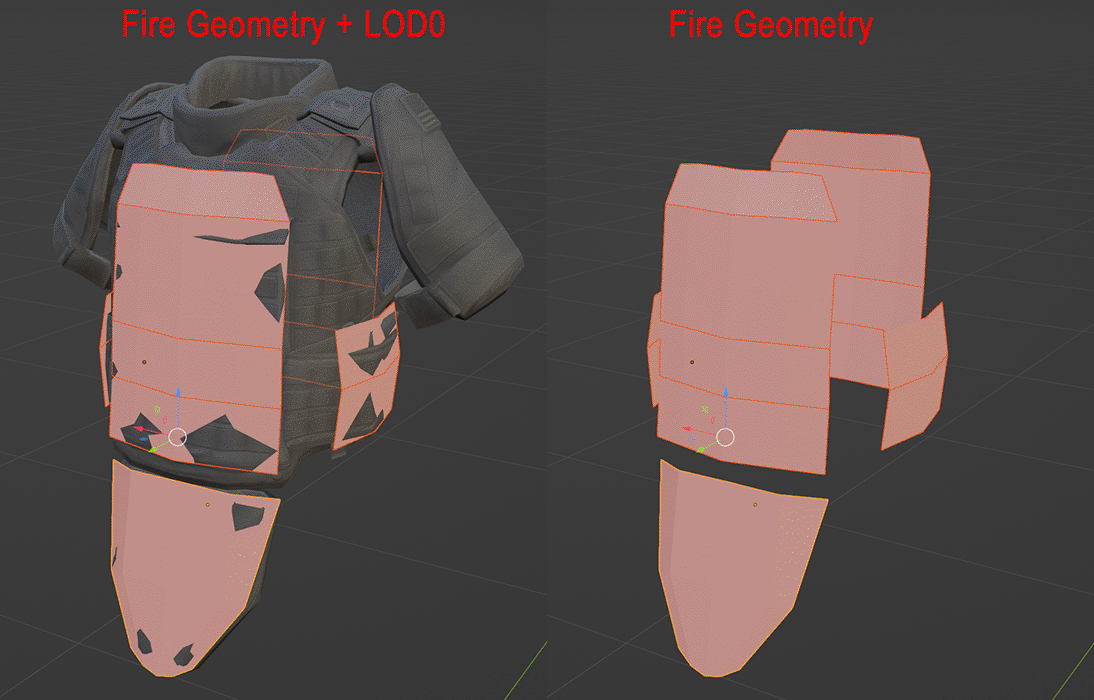
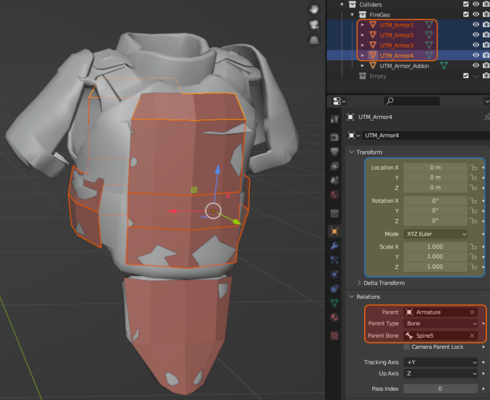
Sample Vest is an example of a vest which use single bone - Spine5 - for all chest mounted plates. Groin protection plate is connected to Spine1.
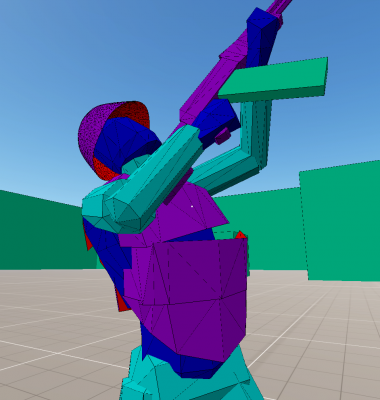
On picture below, you can observe that there are no visible gaps when character is looking upwards and that colliders are also not clipping with the character.
Even though Sample Vest colliders are using single bone for most of the panels, they are still split into multiple objects. This was done on purpose to let you experiment with different bone setups. In final models though, it is worth to merge such objects and keep amount of colliders as low as possible.

